Friday 10 August 2012

Lemartes!


Started and finished this guy today. Way too hot to be painting... 


Relatively happy with how he turned out, I tried not to take too long but still get a good result. He just needs a bit of grass on his base and he's good to go!

Comments and criticism please people! Peace.

Tuesday 7 August 2012

Hard at Work - Tomb Kings, Necrons and Imperial Guard

Hi folks, it's that time again - a long overdue post about what's been crossing my painting table of late.

First of all, I spent a bit of time finishing off some Imperial Guard I still had sitting in a box somewhere. I collect an Imperial Guard army but it's no longer in this colour scheme, so I'm considering selling these guys on sometime soon. 


I've got some more pictures, which I'll probably put up when I decide to sell these boys.

Since I last posted I also have painted up another set of Necron Barges for a customer who wanted a red and black theme throughout his army, with green spot colours in the shape of lights and dials and whatnot. Here is the finished result:


Apologies for the bad quality of the photos - they were taken on my phone...

I then went from painting futuristic skeleton warriors to Fantasy skeleton warriors for a Tomb Kings commission. Here is the host readied for war (and the tournament that the customer was taking them to):


Again, I apologise for the rubbish quality of the pictures, they hide some of the detail, but you get the general idea - I've been busy!

The next project is to be part of a Death Company Blood Angels army. The challenge here is to paint white - always a difficulty - as the customer wants his chaps painted in the colours of the Flesh Tearers' Death Company. Alongside 15 blood-crazed close-combat powerhouses I have Tycho, Lemartes, Mephiston and Gabriel Seth to paint, as well as a drop pod and a Furioso Dreadnought (both in white).


That's all for today everyone! I promise to post more regularly from here on in, but for now it's back to work. Happy painting!

Tuesday 19 June 2012

Trollkin Champions and a new Necron Commission

My first year at university is almost at a close, and I've had a busy couple of weeks going between the two places I now consider home... It's a strange feeling to have two lives in separate places; when I say 'home' I'm never quite sure which one I mean. 

Anyway, some painting has been done and I'm working on a new commission; but first, some completed Trollkin Champions:


So the things I still had to finish off were their leather straps and boots, some details on their faces and weapons and the wooden kegs in which they carry their Dutch Courage. I also slapped some snow on the base, along with a bit of grass. The snow is from Woodland Scenics - great stuff, but it needs a couple of applications. The grass is from Army Painter - these range of grass tufts come in a variety of colours and are probably the best static grass on the market.

So the next commission on my painting desk are another batch of Necron vehicles - this time for a different client. This was how far I had progressed at the time of taking these pictures, which was a few days ago.


That's all for today! I'm just trying to power through these guys, but I want to make sure the client is happy with them. Happy painting!

Thursday 31 May 2012

An Update - Finished Exams and Back to Painting Trollbloods

So it's been a studious few weeks here as everyone has been busy with their exams. Revision didn't leave a lot of time for painting so the Trollbloods have been on the back-burner for a little while. I finished exams a week ago however, and have got back to it (in between partying and enjoying the beautiful weather).


So I've taken some pictures of my progress on my new, snazzy, phone, but the quality isn't fantastic. The colours aren't quite as vibrant as they are in real life, so please bear that in mind! As they stand their skin is pretty much done, although I am considering throwing a couple of washes over it - perhaps purple, or green - to make it look a bit more like living flesh. I tried my best to achieve a smooth blend from shade to highlight on these - it's difficult, but I need to keep practising two-brush blending.


I have also finished the tartans on all five Champions now - which took quite a bit of time; there really is no short-cut for tartan, it's just accuracy and precision. Overall, I'm quite happy with the results. I didn't want the tartan to be too garishly coloured. I tried my best to keep the colours subtle so that it does not draw the eye too much. I'm set on applying snow to their bases, which will hopefully contrast well with the darker shades of the models. 

Looking at the models now, I'm wondering about perhaps lightening the skin a little more... They are meant to be Champions after all, who would have been around for a long time, which suggests that their skin needs to look a bit 'older'. It's likely that they will see another highlight. And perhaps I'll add some scratches and scars... We'll see!


That's all from me today. Expect an update around this time next week, when I'll be back in Heroes and Legends, working on some commissions. Until then, happy painting!

Thursday 3 May 2012

Wet Palette Tutorial and Trollblood Progress

Dear readers,

I have to be one of the slowest bloggers in history, but this is just something you're going to have to forgive me for - for the time being at least. Exams are coming up so a lot of my time is having to go into this crazy thing called 'studying'... Nevertheless, the fact that I have to revise means that procrastination is inevitable, and that procrastination has been put to some use!

So I'd been hearing good things about wet palettes for a while now. Since involving myself more in the miniature-painting community online I've found out more and more about the benefits that accompany painting from a wet palette. Previously I had always been quite happy with my old kitchen tile found somewhere in the deepest, darkest corners of our garage, but now that my eyes have been opened I don't think there's any reason I would go back.

Here's how:

1) Collect the necessary items. You'll need:

  • A plastic box of a good size. The one I used is not very deep and this is certainly a benefit.
  • Some thin, but large, absorbent sponges. These are the ones typically used for household cleaning. I found mine in Tesco for £1.20.
  • Baking paper. I have heard parchment is suitable too, but not as cheap or easily available. This 8 metre roll was only £1.25.
  • Scissors. They don't have to be bright blue, but it certainly helps.
2) Cut the sponge so that it fits neatly into the bottom of your plastic box. I'm not going to patronise you by telling you to be careful with scissors... I mean, you're only cutting a sponge. You'll need just one layer, so you certainly won't be using your whole £1.20's worth in one go. The sponge doesn't have to fit right up against the edges, but you want to try and fill most of the box. 

3) Next, you need to soak the sponge so it contains the maximum amount of water it possibly can. I ran mine under a tap and let it sit in the sink for a little bit. Let most of the excess water drip out and place your sponge(s) in the bottom of your box.

4) Finally, use your scissors again (CAREFUL!!!!11!!one!!) to cut out a bit of baking paper that will fit nicely into the box. Place this on top of the sponge and just pat it down. It should stick to the sponge nicely and will look like it does in this picture. If a lot of water droplets start forming on the surface of your palette then there is too much water under the paper - just squeeze a little water out of your sponges and try again. 

5) Apply paint as you would normally. You won't have to add too much water as the moisture will naturally dilute the paint you apply.

So that's it - simple! You only need to take five minutes or so to do this and the results are great. Paint stays wet for a long time, particularly if you seal it with a lid. I left one mixture on there for 24 hours, as a test, and I was still able to use it the next day! As a tip I would suggest not to spread your paint out too much - this will dry it out quicker - but to keep it in little pools on the palette. Give it a go people, it's a great addition to a painter's arsenal.

So the Trollbloods are seeing some paint every time I get sick of revision. Not a great deal has been done but I did spend a while faffing over how to do the tartan. I ended up going for a dark green shade, highlighted using Trollblood Highlight (P3) to give it a 'woolly' look. I figured wool usually isn't so vibrant and it would look strange to highlight it simply using brighter greens. For the base-coat I used Caliban Green - one of the new GW Base Paints - and I was happy with the results; it covered well and produced a strong colour.


Next I used Trollblood Highlight to carefully draw the horizontal white lines across the tartan; later, after painting the red, I went back and highlighted the edges with a thin layer of Skull White.


The red was painted with Sanguine Base (P3) and highlighted with Skorne Red (P3). Where the red lines crossed I carefully painted on squares of a different colour - for this I used Midlund Flesh (again - P3), which was highlighted by adding a bit of white. As you can see, I painted a horizontal red line every other white line, so that it doesn't look too 'busy'. I'm quite happy with the result, but you guys must decide for yourself! The pictures aren't great I'm afraid, I had to borrow a friend's camera because I stupidly left mine at home...


The other four Champions saw some work over the last few days as well. I finished the bronze/gold (I can never decide) on their weapons and gave their skin a base-coat. Since taking the pictures I've also shaded their skin and painted a base-coat on to the Dire Troll Mauler that will be my next project.

Well, that's it for today folks! I hope you find the tutorial useful and that you give the wet palette a go. If you have any comments, criticisms or suggestions I am always happy to read them, so please leave them below. Happy painting!

Sunday 22 April 2012

Annihilation and Command Barges Completed!

Hello all!

It's been far too long since my last blog post and I must start off with an apology - I simply haven't had the time these last few days to post up any progress. The week before last was spent in Holland with my family; naturally not a lot of painting got done and the lack of internet connection meant I couldn't show any progress anyway. Last week's been spent seeing friends before they go back to university, as well as preparing for my own return. I have been painting however, and spent a good few hours across three days putting all the finishing touches to the last two barges.

There was one more Annihilation Barge to be painted and this one is exactly the same as the previous two so there isn't much new to see here.


I also painted up a Command Barge to match the original I was given by the client. I think it matches up pretty nicely (you can see them both on the right of the group shot) and I'm happy with the overall result. It looks similar enough to the Annihilation Barges to fit in well with them, but different enough (mainly in shape - the lack of a massive gun will do that) to stand out. It's going to look especially tasty with a Lord mounted on it...


And finally just a quick group shot of the four barges I had in my possession at the time of taking these pictures. Only one Annihilation Barge is missing. It's quite the fleet now! I've given all the Necrons back to the client and I'm hoping he'll be able to take a couple of shots of this army in action over the next few days so I can put up a few here - these things look a whole lot better on their bases!


I'm glad these guys are finished and, more than that, that the Necron Overlord is happy with the results on his models. May they be kicking asses and taking names on battlefields across Tolworth soon.

Just a final note to say thank you to everyone who regularly reads my blog or gives it the occasional visit to see what I've been up to. The middle of last week saw my thousandth page view, which is very encouraging and a great motivator to keep producing stuff and blogging about it. Once again, a big thanks to everyone that has taken an interest.

See you all soon.

Sunday 8 April 2012

Another Finished Annihilation Barge & Progress

It's been a couple of days and despite a busy schedule I've done a bit more work on the fleet of Necron Barges that has to be completed soon. After finishing one the other day, we now have two painted Annihilation Barges, one painted Command Barge, one half painted Command Barge that needs adjustment and one more assembled, and primed, Annihilation Barge. That's a lot of the word Barge... It's starting to lose meaning.

From this...
...to this!
Admittedly there is not a lot new to see here, as all these barges are tediously similar. That, however, is the point of this project - similarity is just very 'Necron'. It might not be the most interesting thing to paint the same model in the same way over and over again, but, having said that, it is a good opportunity to work on delivering consistency and accuracy - both of which are (in my eyes) necessary for a good painter.

Next up is the second Command Barge that was already painted but has to be adjusted to fit in with the new scheme. So far all I have managed to do to this one is to cover with black the areas that will need to be black (forgetting about the 'vinyl' - that comes later). With this one it is just a question of covering over the areas that need to be different colours, as well as cleaning up some of the highlighting in order to better resemble the other vehicles in the fleet.

I spent a couple of hours yesterday assembling and priming the last Annihilation Barge as well. Unfortunately I lacked an instruction manual, which made the whole process a little slower. I was being overly careful as a friend of mine had advised me that it is a notoriously difficult kit to piece together. In the end it came together fine, with no major hitches along the way. Time to break out the Dheneb Stone!


I also picked up a couple of the new Citadel Base paints yesterday at the shop, just to try them out. I bought  a white, a red, a bronze/gold (intrigued and excited about the possibility of a gold that covers well!) and a green. I was quite impressed on trying out the Base Paints when I got a chance, so I will be looking to use these in the near future. The green, white and red in particular will be seeing use when I paint the tartans on my Trollkin Champions.

That's all for today folks! Enjoy celebrating the possibility of zombies through the eating of chocolate, I'm going to get on with some painting.


Wednesday 4 April 2012

One Finished Necron Annihilation Barge

It's been a long time since I've updated you all on my progress, so it's definitely time for a new post. I had flue for the majority of last week so I wasn't able to get as much stuff done as I would have liked... It was real flu, I promise! Not hypochondriac-man-flu!

Anyway, time is of the essence with these Necron Barges as they need to be ready before I go back to University - they are apparently needed for a tournament called Mayhem which the guys from Heroes and Legends will be attending in full force. Because of this I have been trying to up my pace without losing any quality (very hard, I can tell you!) and I have spent the majority of today at my desk.

The result? One finished Annihilation Barge!


I wanted to make it look as similar as possible to the Barge that's already painted to enhance the feel of the uniformity that is such an integral element of the Necrons. Unfortunately this uniformity does make for some rather dull painting sessions.... But it's all good, I'm keeping in mind the end result, which should be pretty solid.
Slowly the fleet grows...
These Barges are taking me somewhat longer than I expected... There's actually rather a lot of surface area on these vessels, despite them looking quite small. The other issue is that it takes about three coats of Dheneb Stone to get the solid layer and the crisp finish that I want to achieve. These layers have to be thin or else the paint will go lumpy. It's a necessary, but time-consuming, process...


I've also started work on the second Annihilation Barge and it's ready to have its 'tattoos' painted on, before I start work on the Skull White highlights. This one is going to be a bit more of a pain because, unlike the Barge I just finished, the cannon's already been glued in place on this one - this is going to make it really hard for me to get at the areas underneath the cannon and on the underside of it. 

Well, that's it for now! I've also spent a bit of time working on assembling a Dire Troll Mauler for Hordes. My 'greenstuffing' skills leave a fair amount to be desired but I'm quite happy with how he's turned out. More on him in the future I hope.

Ciao!

Wednesday 28 March 2012

Necron Annihilation and Command Barges

Hello again, I think it's time for another update.


So my Necron-collecting friend has sent another commission my way, and this is a big one. At the moment I have in front of me two Annihilation Barges and one Command Barge, with another barge of some sort to be built in due time. They are all to be painted in the same scheme as his Deathmarks, which means a lot of time will be taken up by painting layers and layers of Dheneb Stone to get a smooth finish. The Command Barge on the left is to be repainted slightly to match the style that my friend has now decided on.

The Necron Overlord actually painted up a Command Barge himself so I would have something of a template to go by, and it's very pretty indeed!


Apologies for the poor quality of the pictures, but I'm away from home and the light-tent I have set up there. I'm in Nottingham for the week and trying to make as much progress as I can with these guys, getting in a bit of painting here and there whenever my girlfriend's at lectures. I've got a bit of time over the coming days to pop into Warhammer World too, which should be quite exciting. I love the Miniatures Hall there - having some many beautiful models in one place is quite impressive! I might see if I can get to try out some of the new range of Citadel Paints. I must say I am most intrigued as to whether they will actually be an improvement. I suppose we'll see in due course.

Thanks for reading! See you all soon.

Thursday 22 March 2012

Malifaux Nightmare Teddy!

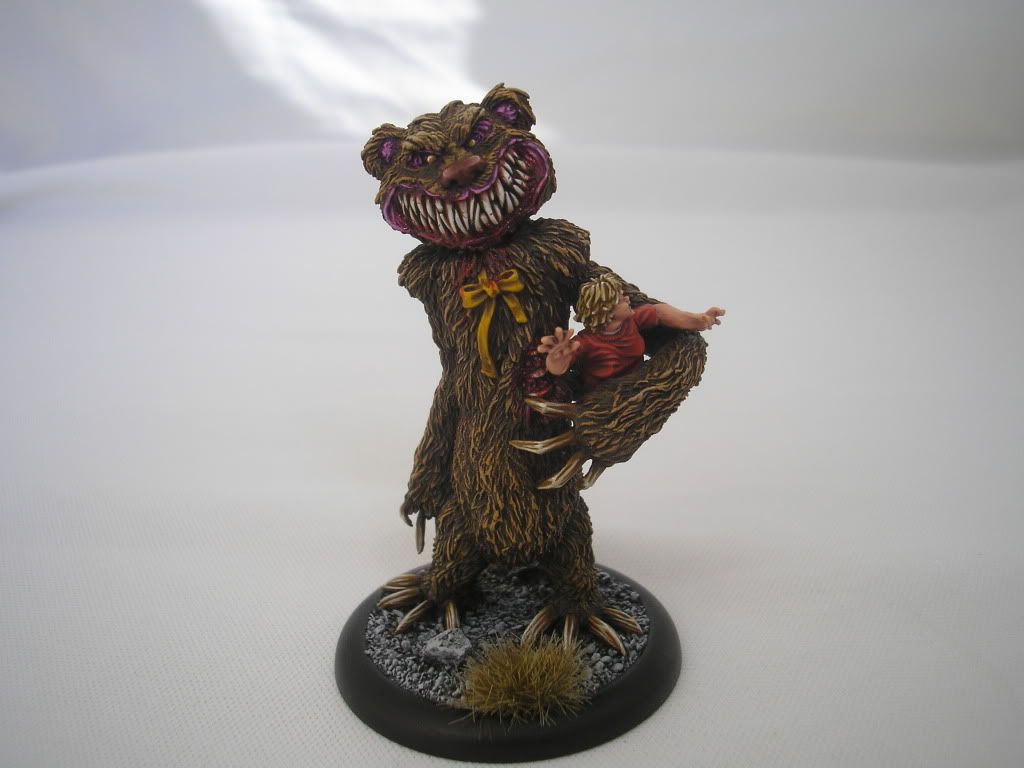
I've spent the last few days working on a model that has been sitting, primed and ready to be painted, for a long time. I'd completely forgotten about it until I got back home from Durham and in the midst of a whirlwind of brushes and paint I somehow seem to have finished Malifaux's Nightmare Teddy. Scary!

I forgot to include some standard 28mm models in the pictures for size-comparison, but take my word for it, this Teddy is BIG. Accordingly, I grabbed a nice big brush and applied a base-coat of Chaos Black and Scorched brown to his fur. From that I drybrushed Scorched Brown, progressing up to Bestial Brown and finally finishing with Snakebite Leather. The fur was relatively easy, I just tried to concentrate the lightest layers on the areas that would naturally receive the most light.

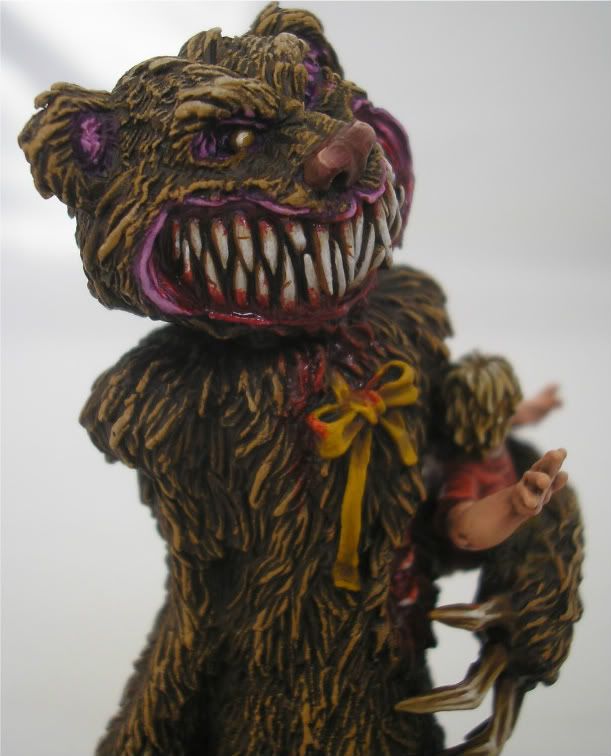
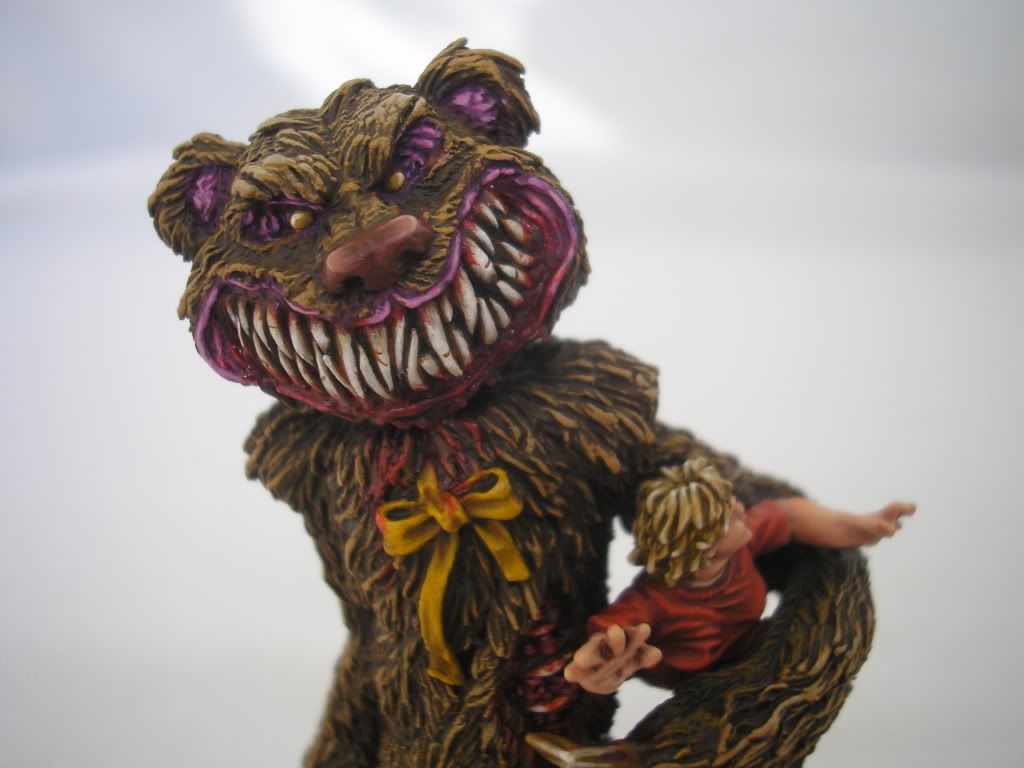
When the fur was done I started with a Vomit Brown base on the teeth, the bow-tie and the claws. I predominantly used Golden Yellow for the bow-tie, to which I added Bleached Bone for the final highlights. The teeth were given a fairly solid layer of Bleached Bone, leaving just a little bit of Vomit Brown around the edges, they were then given a very thin layer of Skull White on the parts of the teeth that stood out most. The claws were first given a wash of Devlan Mud - I wanted them to look a bit darker than the teeth - and then a layer of Snakebite Leather, concentrating on the ridges that would catch the light. Using a 1:1 layer of Snakebite and Bleached Bone I further picked out these ridges before finishing with a very thin line of pure Bleached Bone.


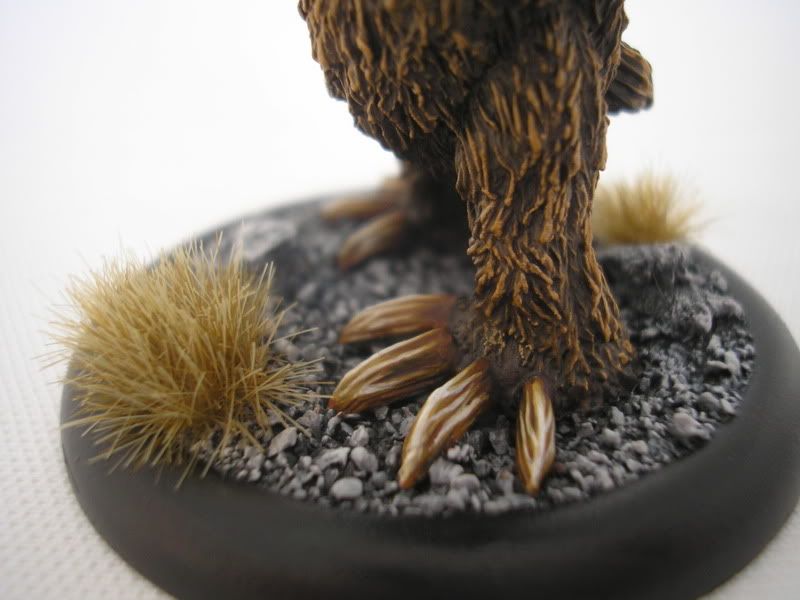
The slightly supernatural purple on his gums, ears and insides was painted with Liche Purple and gradually highlighted with layers that added Tentacle Pink and Fortress Grey. His nose was painted Dark Flesh and highlighted by adding gradually increasing amounts of Bleached Bone. The base was just painted grey to keep it nice and simply, before some tufts of Army Painter static grass were stuck on - this stuff is really nice by the way, it's the easiest-to-use and best-looking grass on the market.


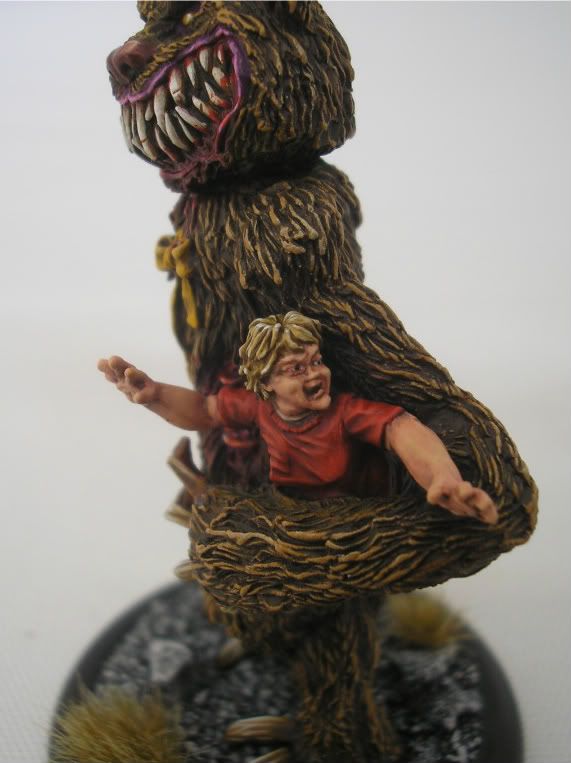
I saved the boy till last and applied a base-coat of Mechrite Red to his shirt and Fenris Grey to his shorts. The shirt was done with layers that added increasing amounts of Blood Red, before adding in some Blazing Orange and Dwarf Flesh. I find that this combination is the best way to highlight reds - it doesn't look too orange, but doesn't go too pink either. The shorts (which I seem not to have captured - whoops.) were nice and easy, just layers of Fenris Grey mixed with Space Wolves Grey, gradually increasing the latter as the highlights get finer. His shoes were painted Scorched Brown and highlighted to Snakebite Leather.


Oh and one more thing, just to make him look a little bit more scary? BLOOD! I tried not to go overboard and just painted it round the bottom of his teeth (as if he'd just licked them clean) and a little dribble onto his torso. Blood was also applied to the wound on his left-hand side. A 2:1 mix of Tamiya Clear Red Ink and Scab Red gave me a really nice, slightly glossy and thick, mixture that I find looks quite realistic.


I left the Teddy to haunt one of the cabinets 
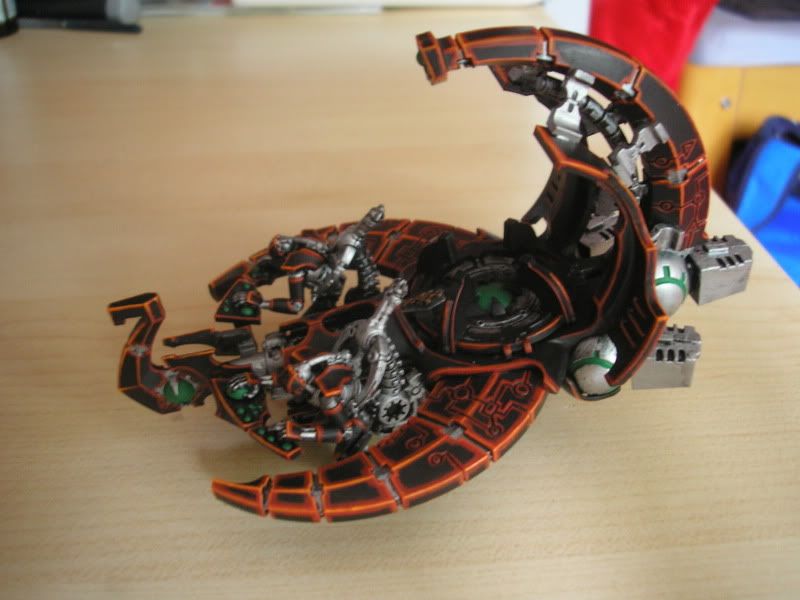
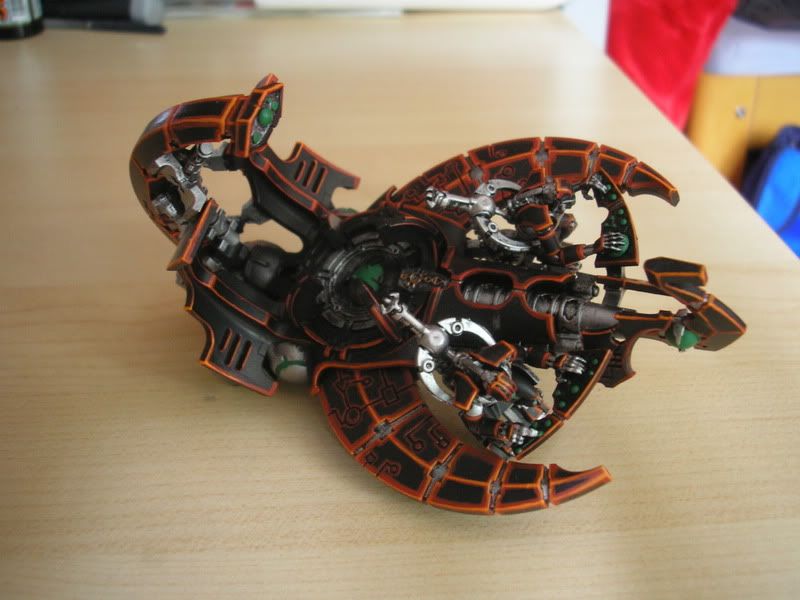
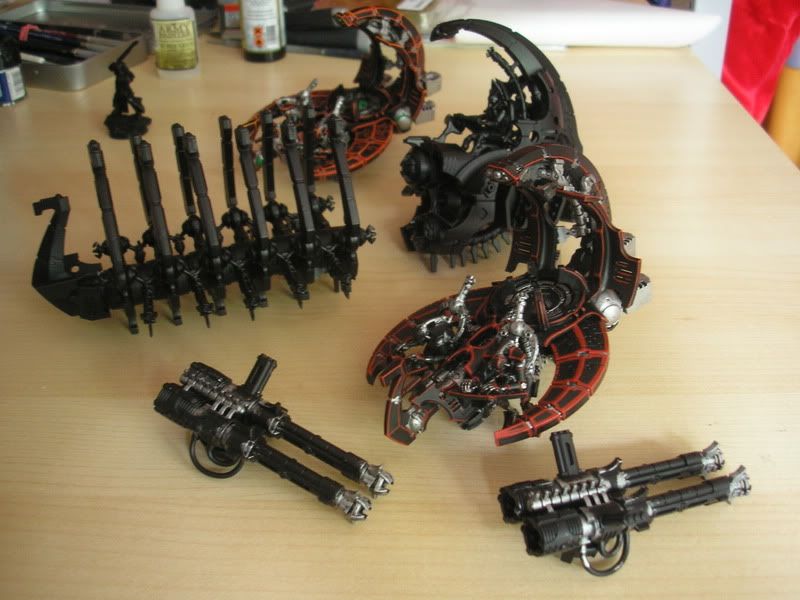
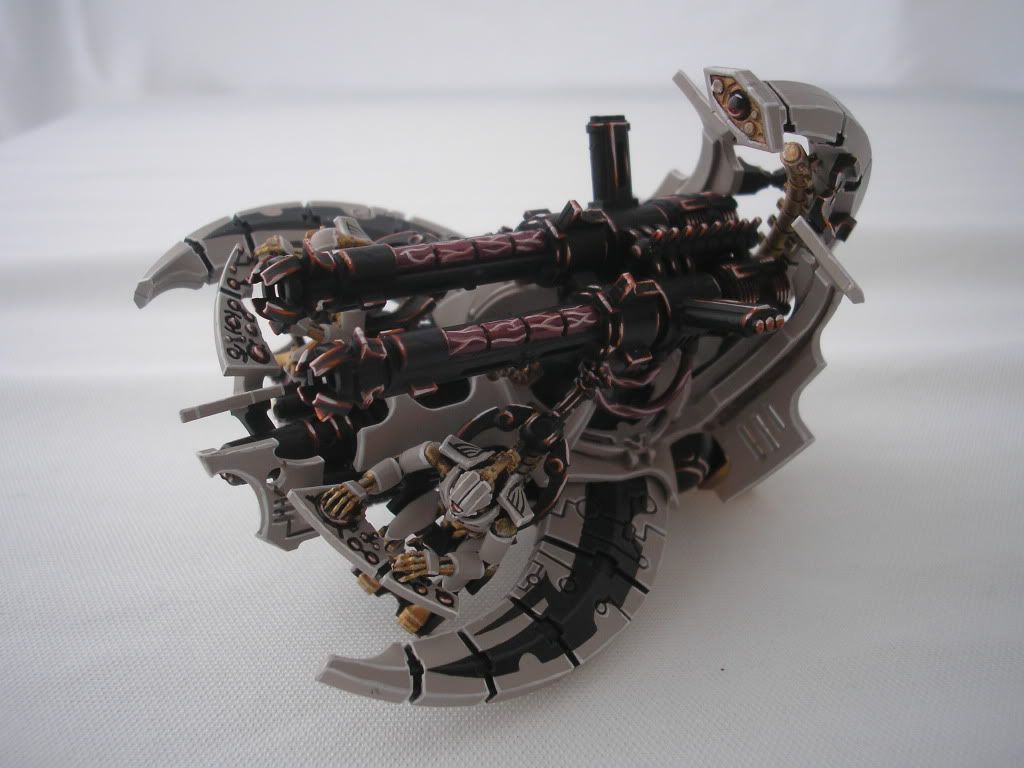
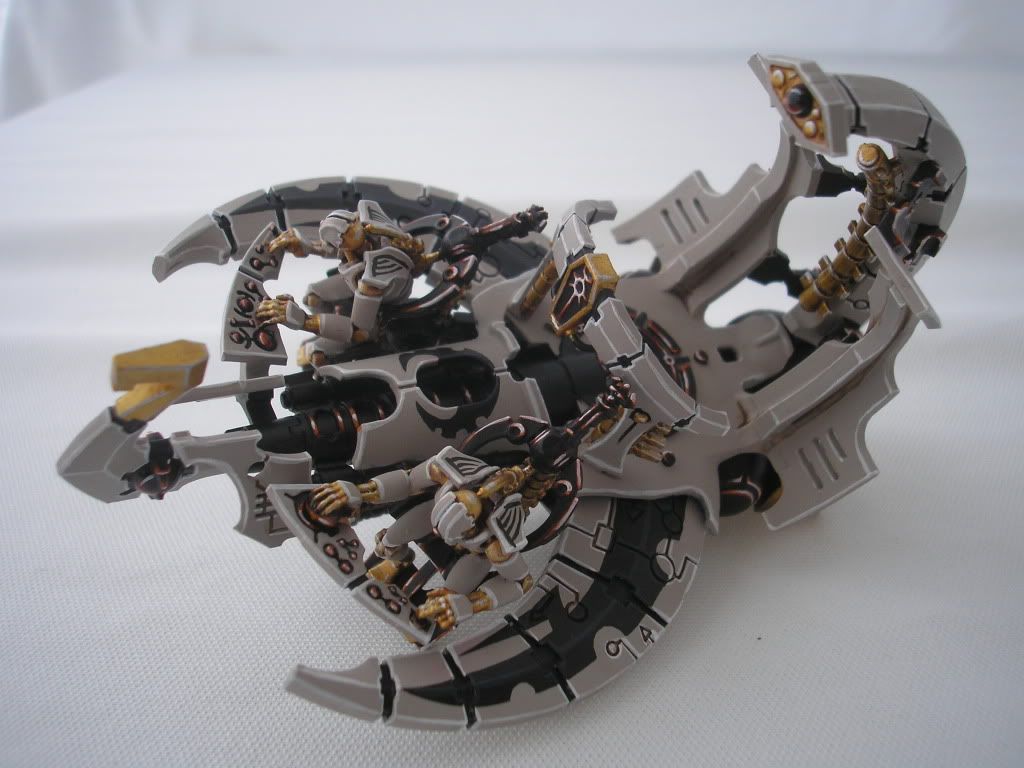
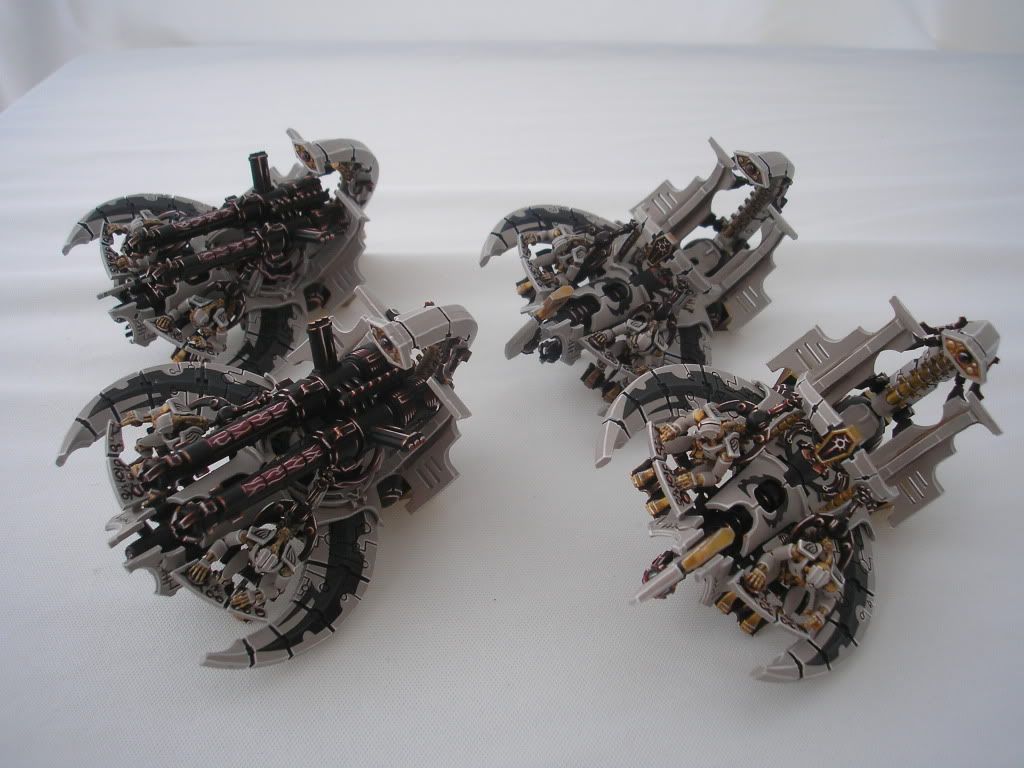
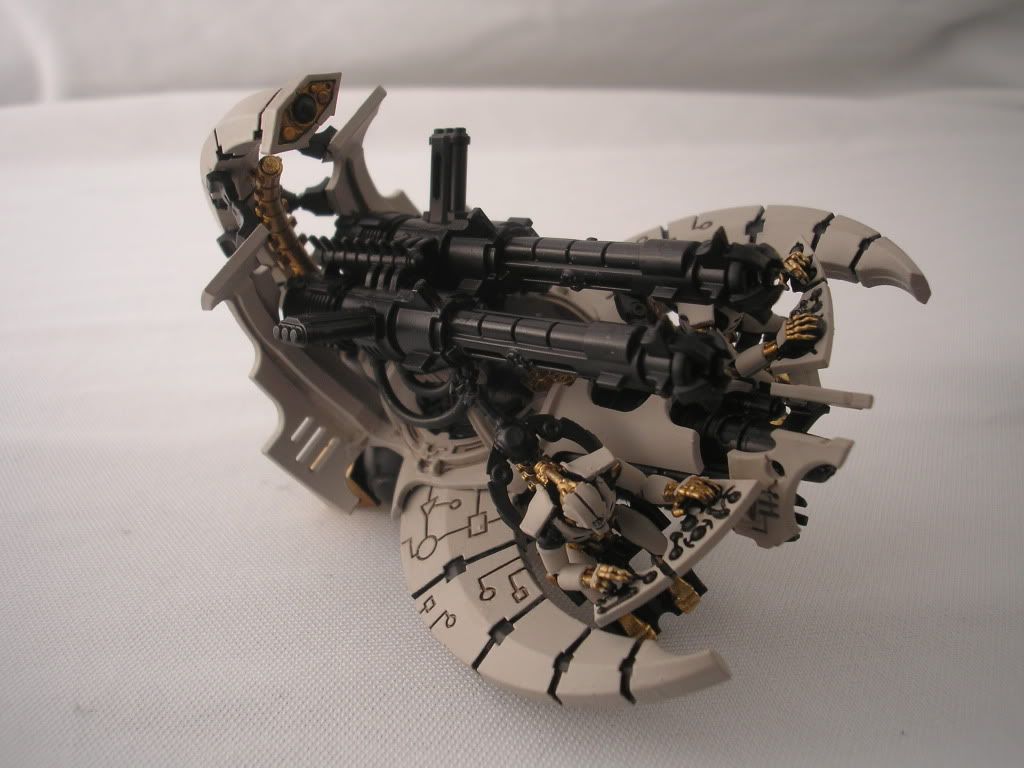
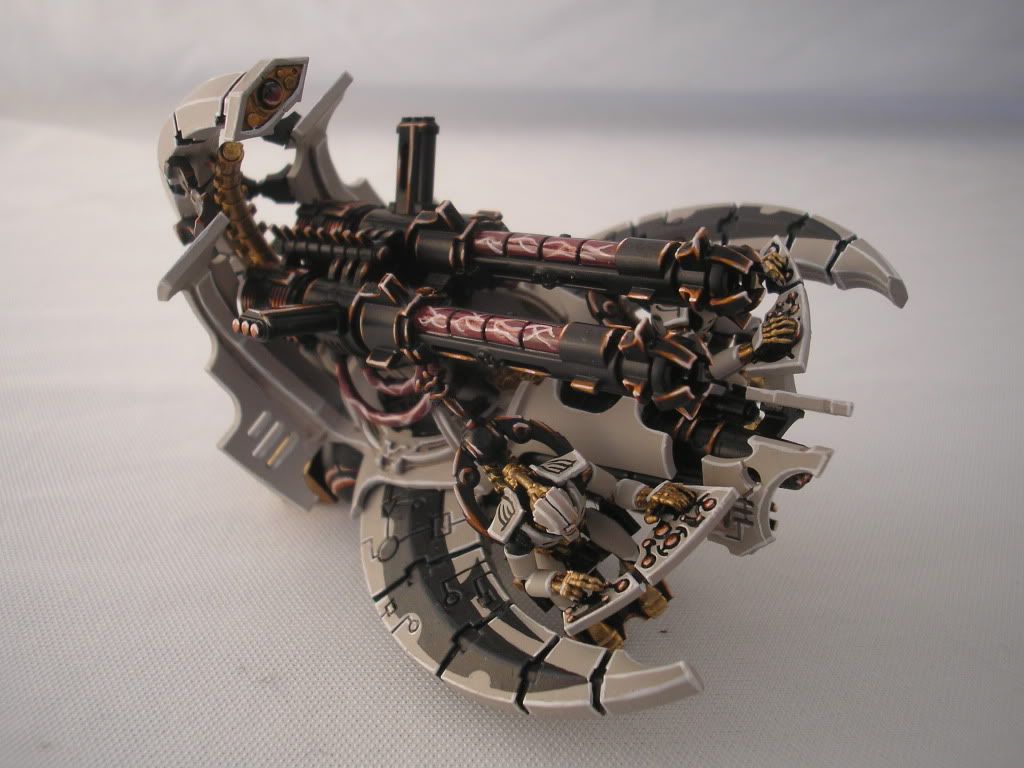
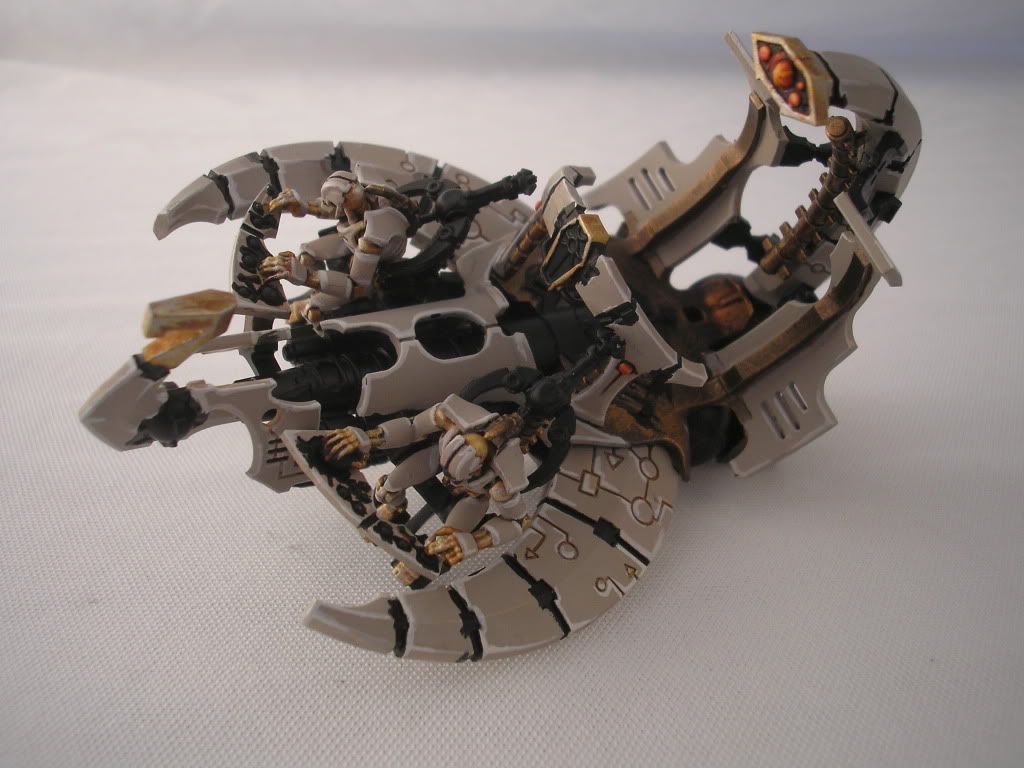
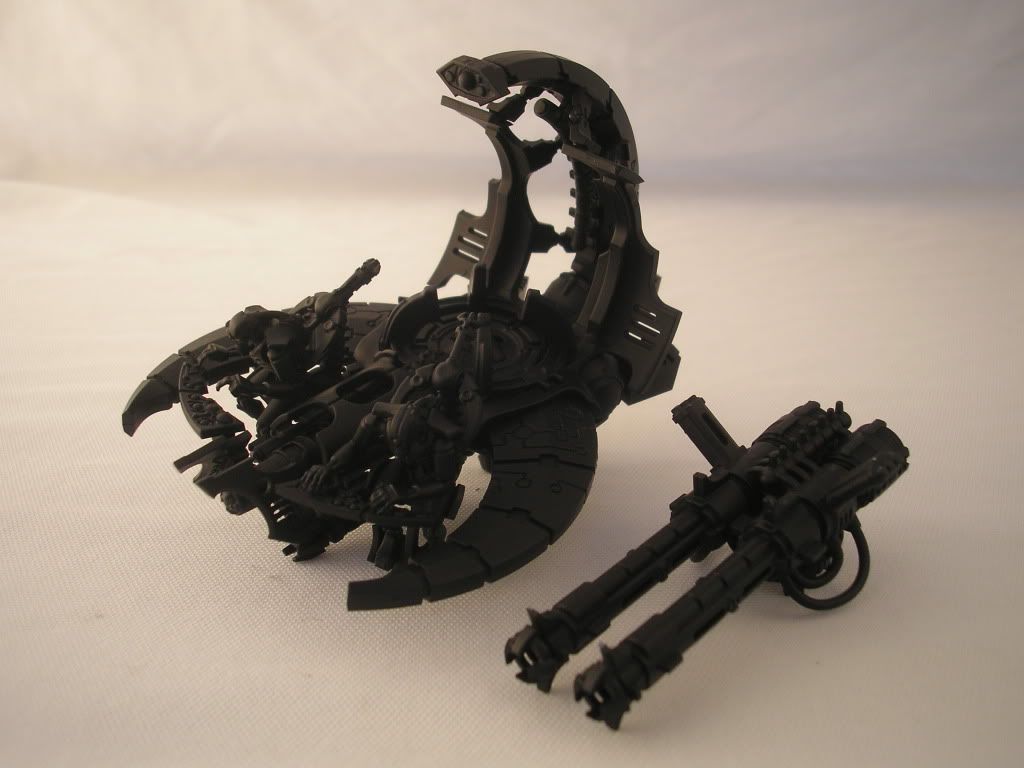
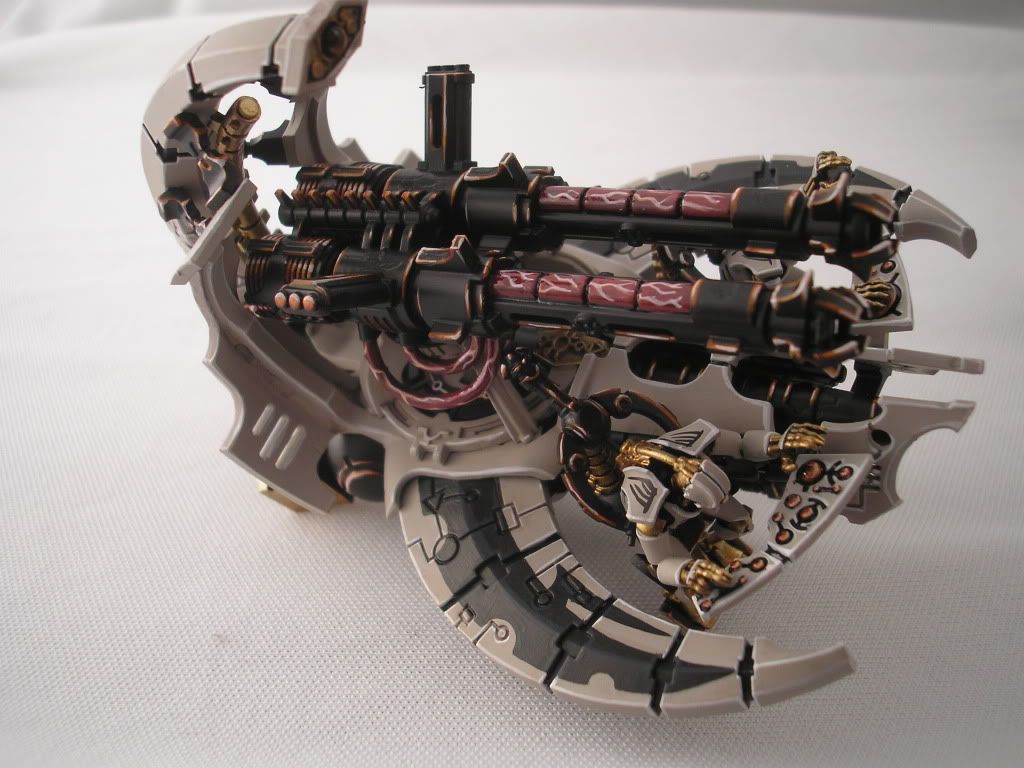
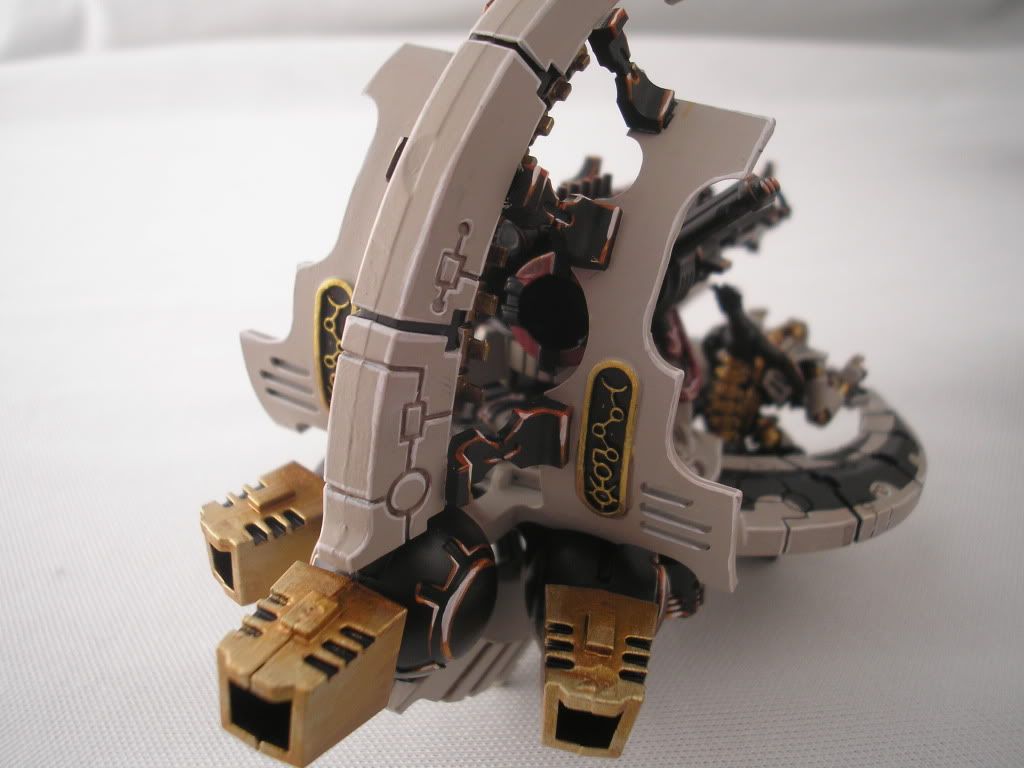
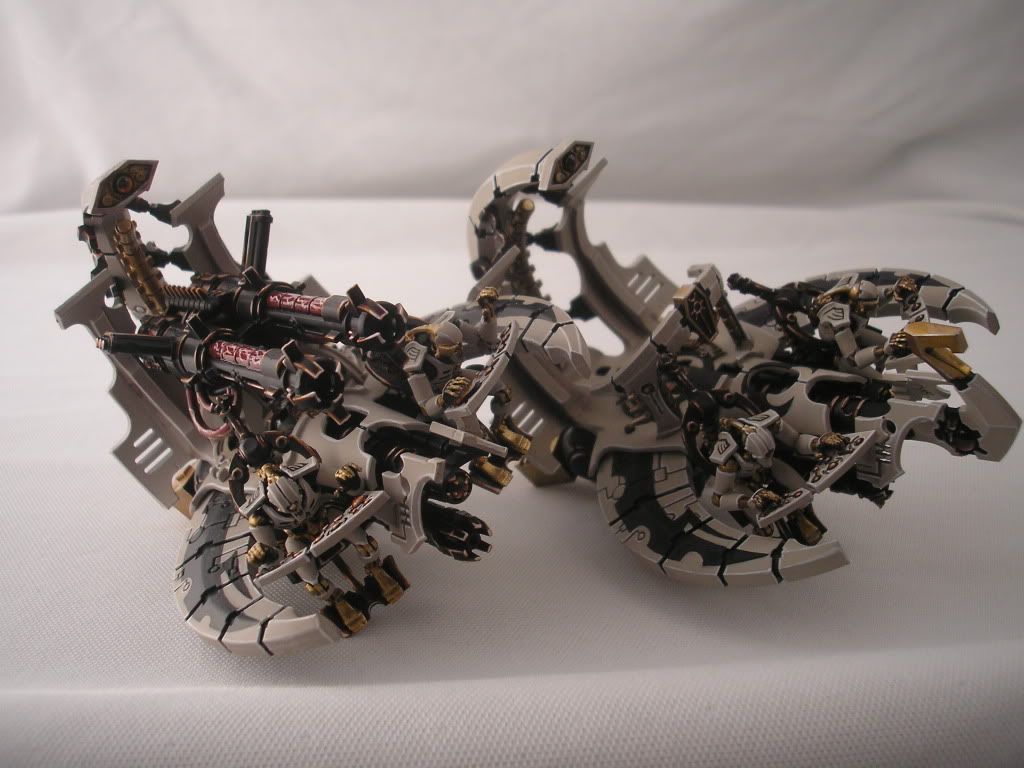
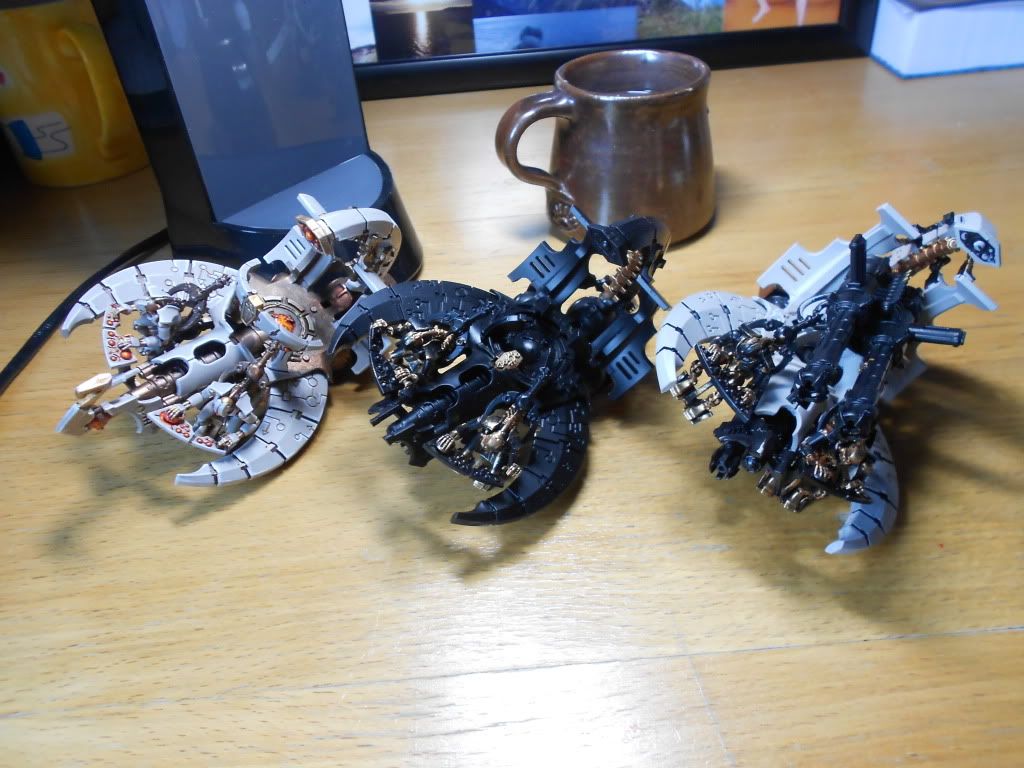
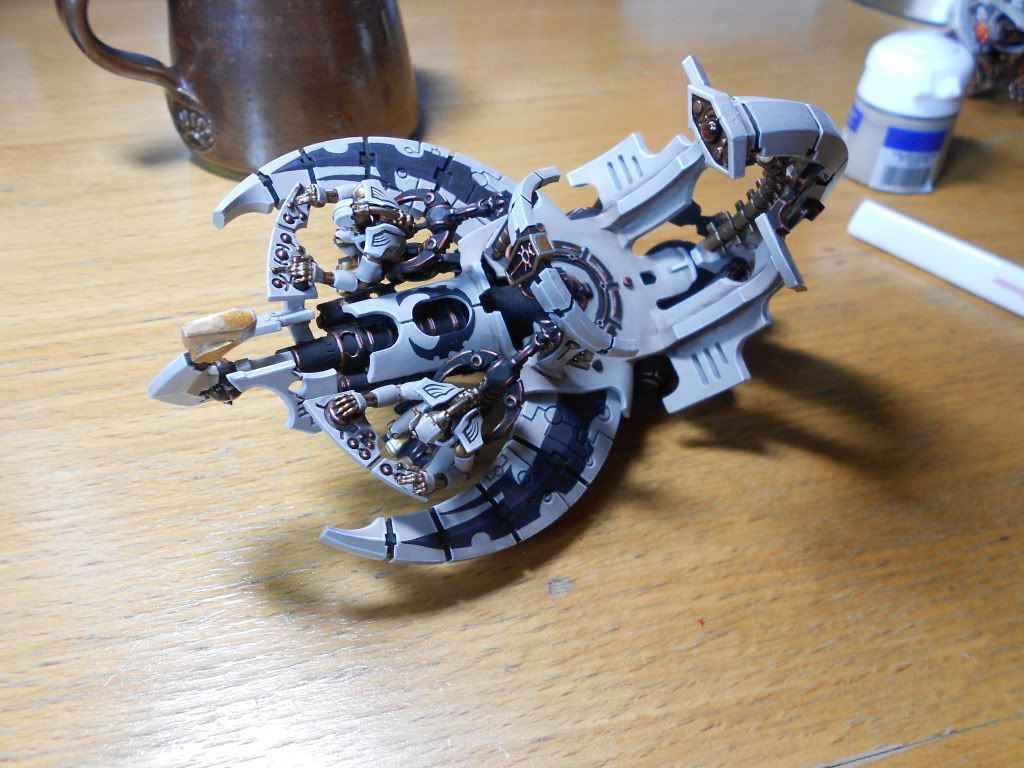
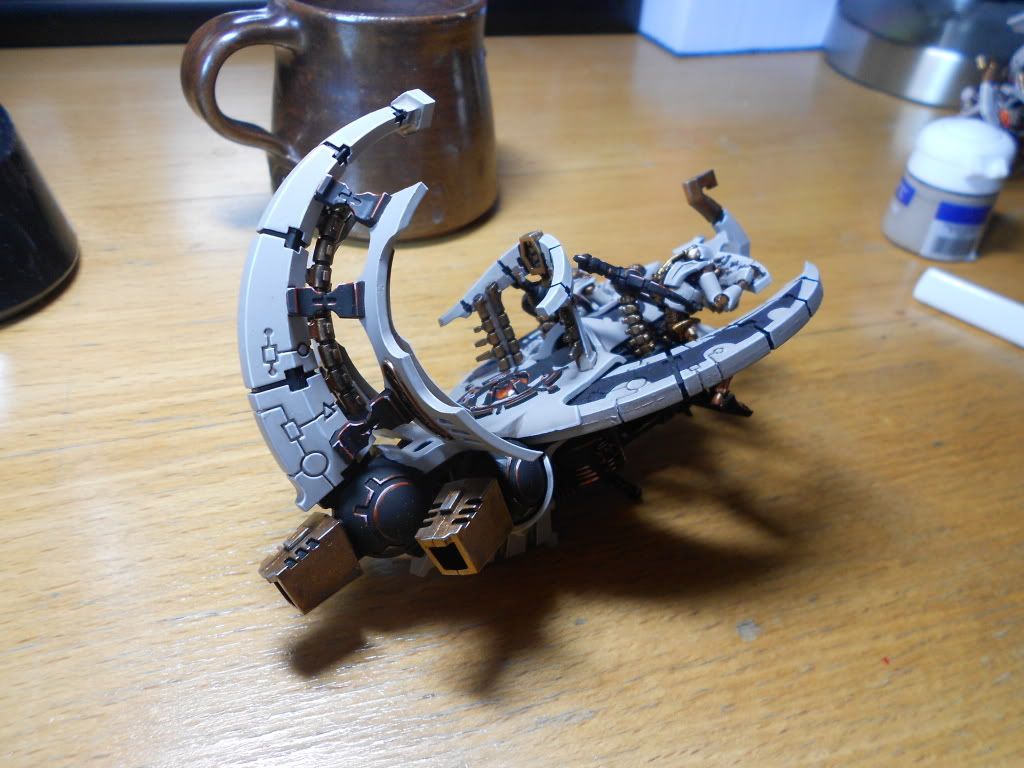
Heroes and Legends where he will live for a little while. Next on the list of things to do is another commission for my Necron-loving friend, this time it's four Command Barges, two of which have super big cannons on them (yeah that's the technical term, I looked it up). I'll put some progress shots up soon, these will probably take a bit of time!

Thanks for reading, I look forward to your comments and criticisms. Happy painting!